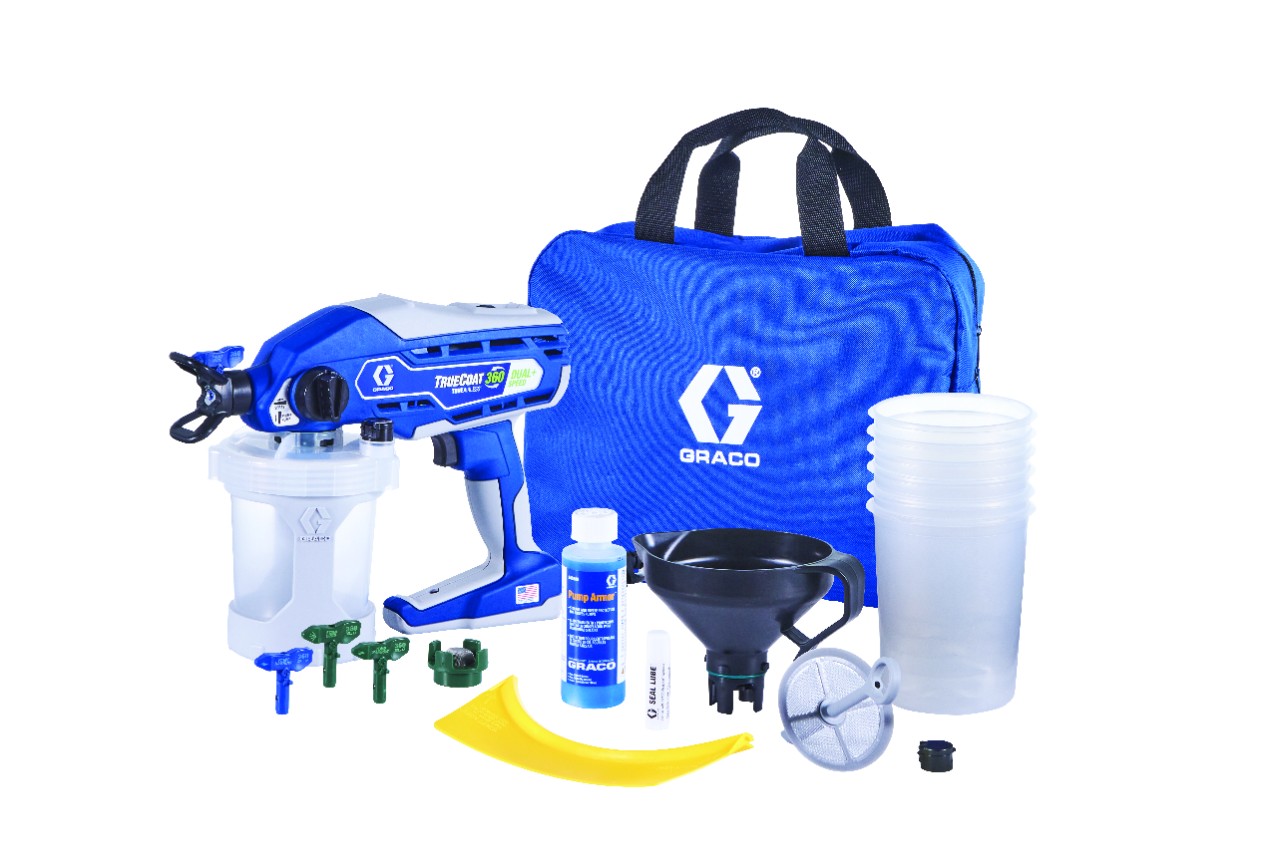
TrueCoat 360 DS - 26D281 - CAN281 - New Version

To avoid serious injury follow all warnings and instructions in the manual. Wear appropriate personal protective equipment.

Slow speed of movement.
Unclog spray tip or clean spray tip see Unclogging Spray Tip, page 21.
On models with a dual speed control switch, set speed control to HIGH. On variable speed models, increase speed until desired pattern is achieved.
Hold sprayer farther away from surface.
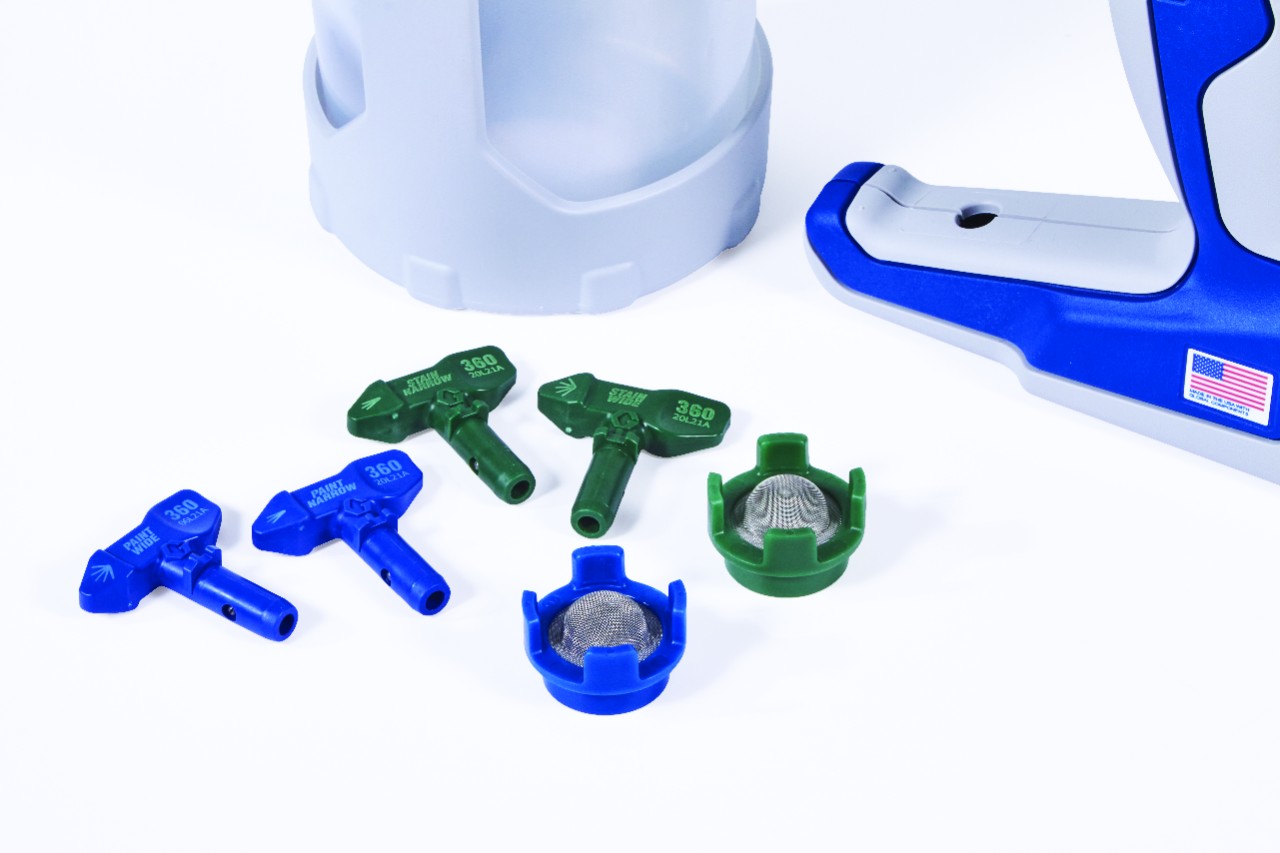
Switch to black (12”) spray tip. See Installing Spray Tips, page 20.

On models with a dual speed control switch, set speed control to HIGH. On variable speed models, increase speed until desired pattern is achieved.
Thin material follow paint manufacturer’s recommendations.
Install different size spray tip. See Installing Spray Tips, page 20.
Switch material.
Replace spray tip. See Installing Spray Tips, page 20.
Move sprayer faster while spraying.
Move sprayer away from surface 10 in. (25 cm)
Release trigger when changing directions.
On models with a dual speed control switch, set speed control to LOW. On variable speed models, decrease speed until desired pattern is achieved.
Replace spray tip. See Installing Spray Tips, page 20.
Move sprayer away from surface 10 in. (25 cm)
Install different size spray tip. See Installing Spray Tips, page 20.
Replace spray tip. See Installing Spray Tips, page 20.
Move sprayer closer to surface.
Install different size spray tip. See Installing Spray Tips, page 20.

Clean spray tip guard. See Unclogging Spray Tip, page 21.
See Installing Spray Tips, page 20.
Replace spray tip. See Installing Spray Tips, page 20.

Replace spray tip. See Installing Spray Tips, page 20.
See Installing Spray Tips, page 20.
If above solutions do not solve the problem, replace the pump assembly.
Verify power to sprayer.
Wait 20-30 minutes for motor to cool.
Replace electronic control.
Prime the pump. See Starting a New Job, page 8.
Make certain there is only one FlexLiner in the cup support.
Make certain the cup cover is properly threaded to the cup support. If threads are visible below the cup cover when tight, fully remove and reinstall to the cup support so no threads are visible when tight.
Make certain the cup cover is tightened to cup support so the arrow on cup cover is within range of indicator on cup support.
Make certain the cup assembly is properly locked on the sprayer.
Make certain all the air is out of the FlexLiner and the VacuValve is properly closed.
Clean VacuValve reservoir and air hole. See , page 17.
Clean Sprayer. See Cleanup, page 15.
Turn Prime Pump/Spray knob forward to SPRAY position.
Turn spray tip to SPRAY position.
See Unclogging Spray Tip, page 21.
See Strain the Paint, page 8.
On models with a dual speed control switch, set speed control switch to HIGH. On variable speed models, increase speed until unit sprays.
Refill FlexLiner with material and prime the pump. See Refilling FlexLiner, page 11.
See Unclogging Spray Tip, page 21.
rotate spray tip to SPRAY position.
Install different size spray tip. See Installing Spray Tips, page 20.
Replace spray tip. See Installing Spray Tips, page 20.
Do NOT shake material. Stir the material or check the manufacturer’s recommendation for the material being sprayed.
Warm material.
Pump has reached its maximum life.
Replace pump.
Cup not properly seated.
Make certain that there is only one FlexLiner in cup support.
Make certain the cup cover is properly threaded to the cup support. If threads are visible below the cup support when tight, fully remove the cup cover and reinstall to the cup support so no threads are visible when tight.
Make certain the cup cover is tightened to the cup support so the arrow on the cup cover is within range of the indicator on the cup support. Avoid flexing or pushing on the cup support when you evacuate the air out of the FlexLiner.
Avoid pulling down on the FlexLiner when you evacuate the air out of the FlexLiner.
Make certain there is no damage to the FlexLiner lip or the cup cover gasket.
Make certain that the FlexLiner lip and cup cover gasket is free of debris and dried paint.
Replace FlexLiner.
Make sure the cup lid is tightened securely and VacuValve lid is closed. Make sure the cup assembly is securely attached to the sprayer. Try squeezing all of the air out of the cup and priming.
Remove black o-ring on the pump inlet and clean/lubricate it.
If your sprayer has a dual speed or variable speed control, turn the speed down to low. Try using the smaller, tip to reduce the amount of material flowing out of the gun.
You most likely have a tip clog. To clear the clog, twist the handle 180 degrees and pull the trigger into a waste area. Twist the handle back to the spray position.
The best way to reduce tip clogs is to strain you paint of the larger debris.
The thermal overload has tripped. It will reset on its own. Let the sprayer cool down for 20-30 minutes and try it again.
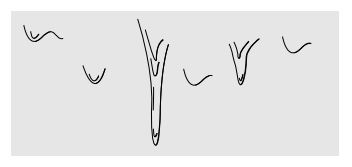
You are moving too fast. Try slowing down your arm movement. If you have a sprayer with speed control, switch to High or increase the speed setting to the highest setting.
Try moving closer to the surface and slower. If you continue to see lines in your pattern, add a small amount of water of solvent, depending upon your material, reprime and spray.
Debris is caught in the sprayer. Try reversing the spray tip 180 degrees to see is paint can be sprayed. If it can, turn the spray tip back to the spray position to spray. Turn the sprayer upside down with the cup and strainer removed. Pour hot water into the inlet of the sprayer if you sprayed water based materials on last project, or mineral spirits if you sprayed oil-based materials on the last project. Let sit for 5 minutes and then remove the spray tip and spray the material out the front of the sprayer (make sure your Prime/Spray Valve is at Spray). If these steps do not resolve the problem, contact Graco Technical Support at 1-888-541-9788.
The most common reason for your sprayer to not work on next use is that the front guard has been removed from the sprayer during cleaning. Removing the guard will cause damage or missing parts when it is reassembled. Please call Graco Technical Support for help replacing the part at 1-888-541-9788.
Turn it upside down, if it sprays then there is still air in the cup. Purge the air through the VacuValve cap.
Check the spray tip to insure it is properly installed and pushed all the way into the housing.
Sprayer is working properly.
The issue is resolved. Strain your paint to avoid further issues.
Flush the sprayer with hot soapy water or 100% mineral spirits.
If this still does not resolve the issue the fluid pump may need to be replaced.
You will need to create a Salesforce case to escalate the call to a Graco Tier II tech.
Please advise the customer they will be contacted back by a Tier II Technician
• Check to make sure that the cup is securely attached to the sprayer.
• Make sure there is an "O" ring on the inlet of the sprayer.
• Check to make sure all of the air has been pushed out of the flexliner before spraying.
• Make sure the VacuValve is closed tightly.
There is an air leak.
• Check to make sure that the cup is securely attached to the sprayer.
• Make sure there is an "O" ring on the inlet of the sprayer.
• Check to make sure all of the air has been pushed out of the flexliner before spraying.
• Make sure the VacuValve is closed tightly.
Fluid pump may need to be replaced.
You will need to create a Salesforce case to escalate the call to a Graco tier II tech.
Please advise the customer they will be contacted back by a Tier II Technician.